


Game Information
Marvel Stadium
| fourth Quarter | |||
|---|---|---|---|
| Time | Team | Play | Score |
| 29:33 |  | T. Murray Goal | 119 - 82 |
| 28:19 |  | Rushed | 119 - 76 |
| 24:38 | | J. Treacy Goal | 118 - 76 |
| 20:50 | | B. Acres Goal | 118 - 70 |
| 17:08 | | B. Ainsworth Goal | 112 - 70 |
| 13:57 | | I. Dudley Goal | 106 - 70 |
| 12:51 | | B. Ainsworth Goal | 106 - 64 |
| 9:43 | | F. Evans Goal | 100 - 64 |
| 7:36 | | H. McKay Goal | 94 - 64 |
| 5:49 | | B. Kemp Goal | 88 - 64 |
| 3:05 | | C. Lord Behind | 82 - 64 |
| 2:18 | | Rushed | 81 - 64 |
| 0:45 | | L. Jackson Goal | 80 - 64 |
| third Quarter | |||
| Time | Team | Play | Score |
| 27:03 | | B. Ainsworth Behind | 80 - 58 |
| 25:19 | | M. Cox Behind | 79 - 58 |
| 22:28 | | T. Murray Behind | 79 - 57 |
| 20:20 | | P. Cripps Goal | 79 - 56 |
| 19:14 | | J. Treacy Goal | 73 - 56 |
| 16:28 | | F. Evans Goal | 73 - 50 |
| 7:46 | | P. Voss Goal | 67 - 50 |
| 4:59 | | J. Smith Goal | 67 - 44 |
| 3:18 | | O. Hollands Goal | 61 - 44 |
| second Quarter | |||
| Time | Team | Play | Score |
| 27:40 | | M. Frederick Goal | 55 - 44 |
| 26:07 | | Rushed | 55 - 38 |
| 25:18 | | L. Jackson Behind | 55 - 37 |
| 20:36 | | L. Young Behind | 55 - 36 |
| 17:14 | | F. Evans Goal | 54 - 36 |
| 15:38 | | J. Treacy Behind | 48 - 36 |
| 13:35 | | B. Kemp Goal | 48 - 35 |
| 12:27 | | M. Cox Behind | 42 - 35 |
| 6:41 | | A. Brayshaw Behind | 42 - 34 |
| 5:27 | | S. Walsh Goal | 42 - 33 |
| 2:27 | | B. Kemp Goal | 36 - 33 |
| 1:36 | | Rushed | 30 - 33 |
| 0:26 | | S. Walsh Behind | 30 - 32 |
| first Quarter | |||
| Time | Team | Play | Score |
| 31:46 | | H. McKay Behind | 29 - 32 |
| 28:46 | | F. Evans Goal | 28 - 32 |
| 27:16 | | L. Jackson Behind | 22 - 32 |
| 25:16 | | F. Evans Goal | 22 - 31 |
| 24:09 | | A. Brayshaw Goal | 16 - 31 |
| 22:28 | | B. Ainsworth Goal | 16 - 25 |
| 20:55 | | J. Treacy Behind | 10 - 25 |
| 18:45 | | L. Young Behind | 10 - 24 |
| 16:38 | | J. Smith Behind | 9 - 24 |
| 14:52 | | H. McKay Goal | 8 - 24 |
| 13:51 | | M. McGovern Behind | 2 - 24 |
| 12:08 | | P. Voss Goal | 1 - 24 |
| 10:33 | | J. Treacy Goal | 1 - 18 |
| 8:01 | | M. McGovern Behind | 1 - 12 |
| 4:38 | | S. Bolton Goal | 0 - 12 |
| 2:44 | | O. McDonald Goal | 0 - 6 |
Veteran Fremantle forward Sam Switkowski has announced his shock retirement at the age of 29 on the eve of the club's AFL finals campaign.
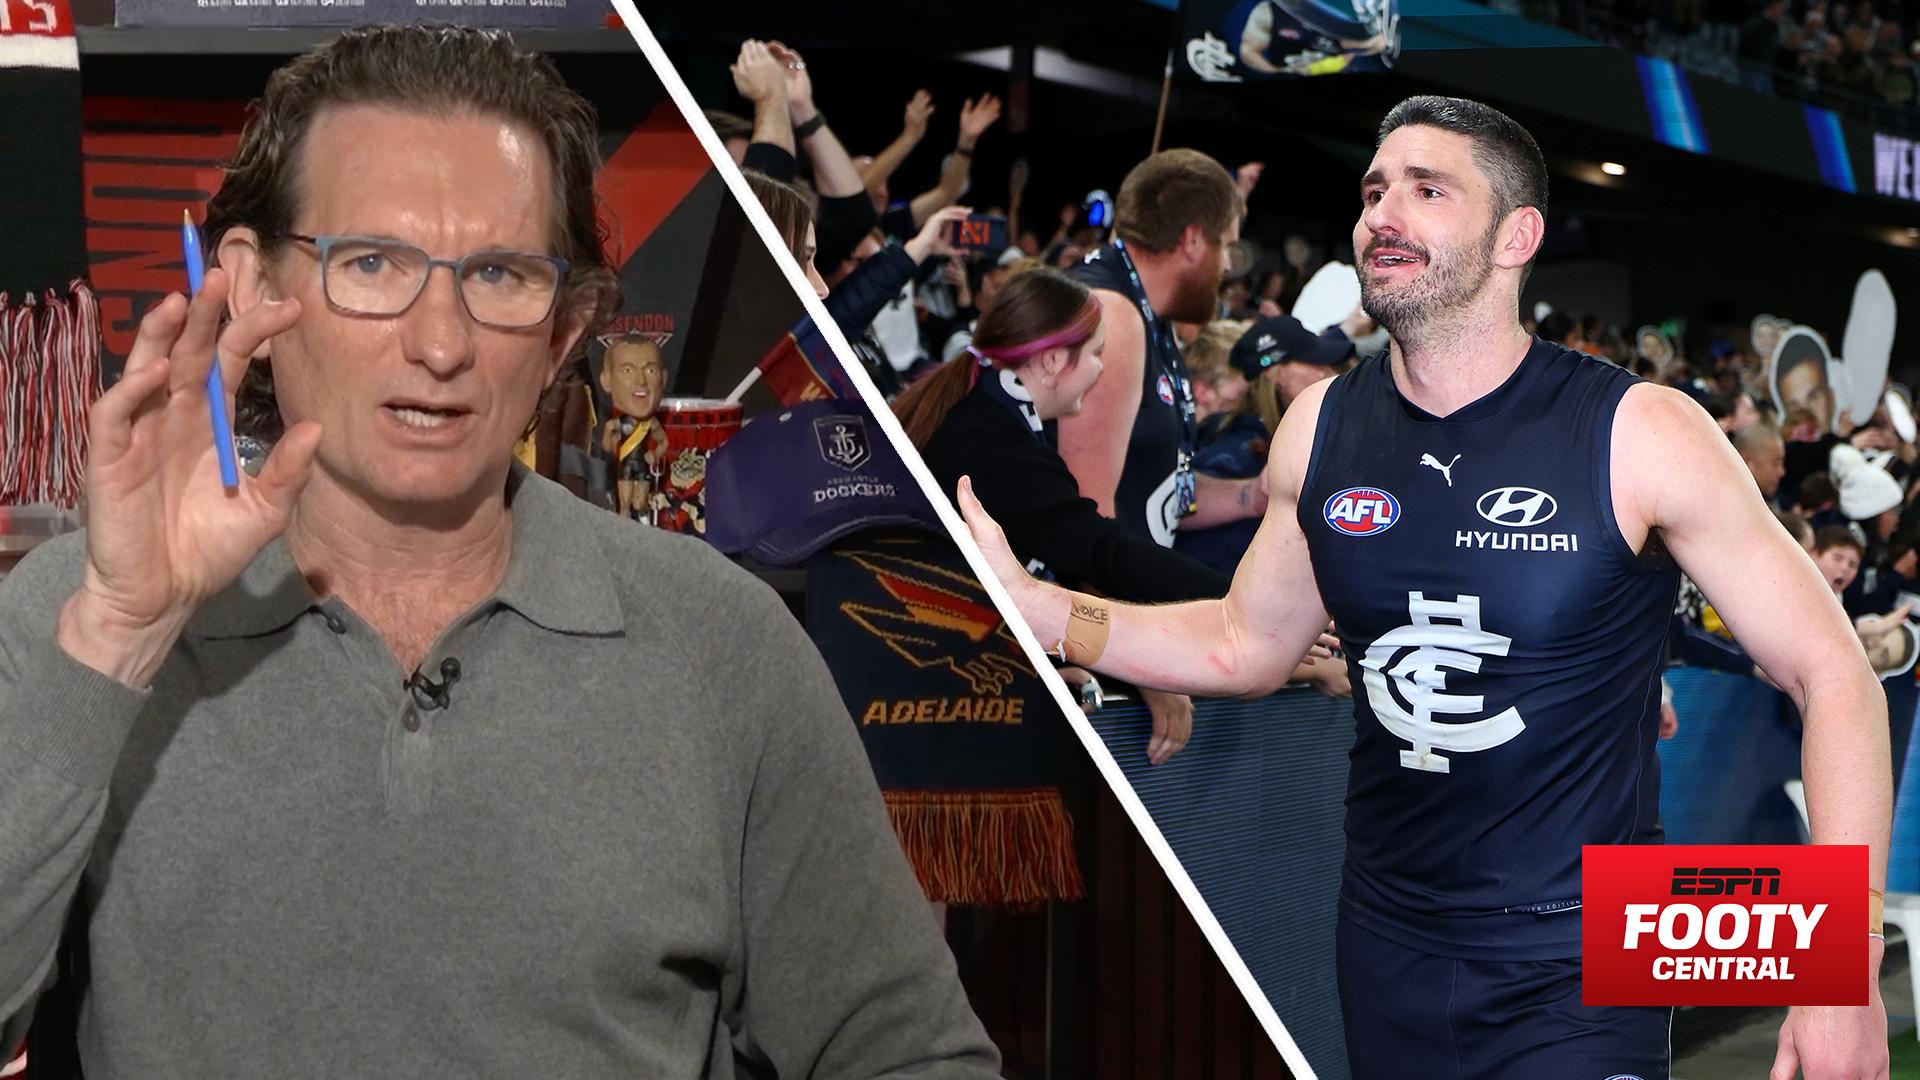
James Hird and Dermott Brereton preview the ruck battle between Max Gawn and Marc Pittonet in the Wildcard matchup between Carlton and Melbourne.
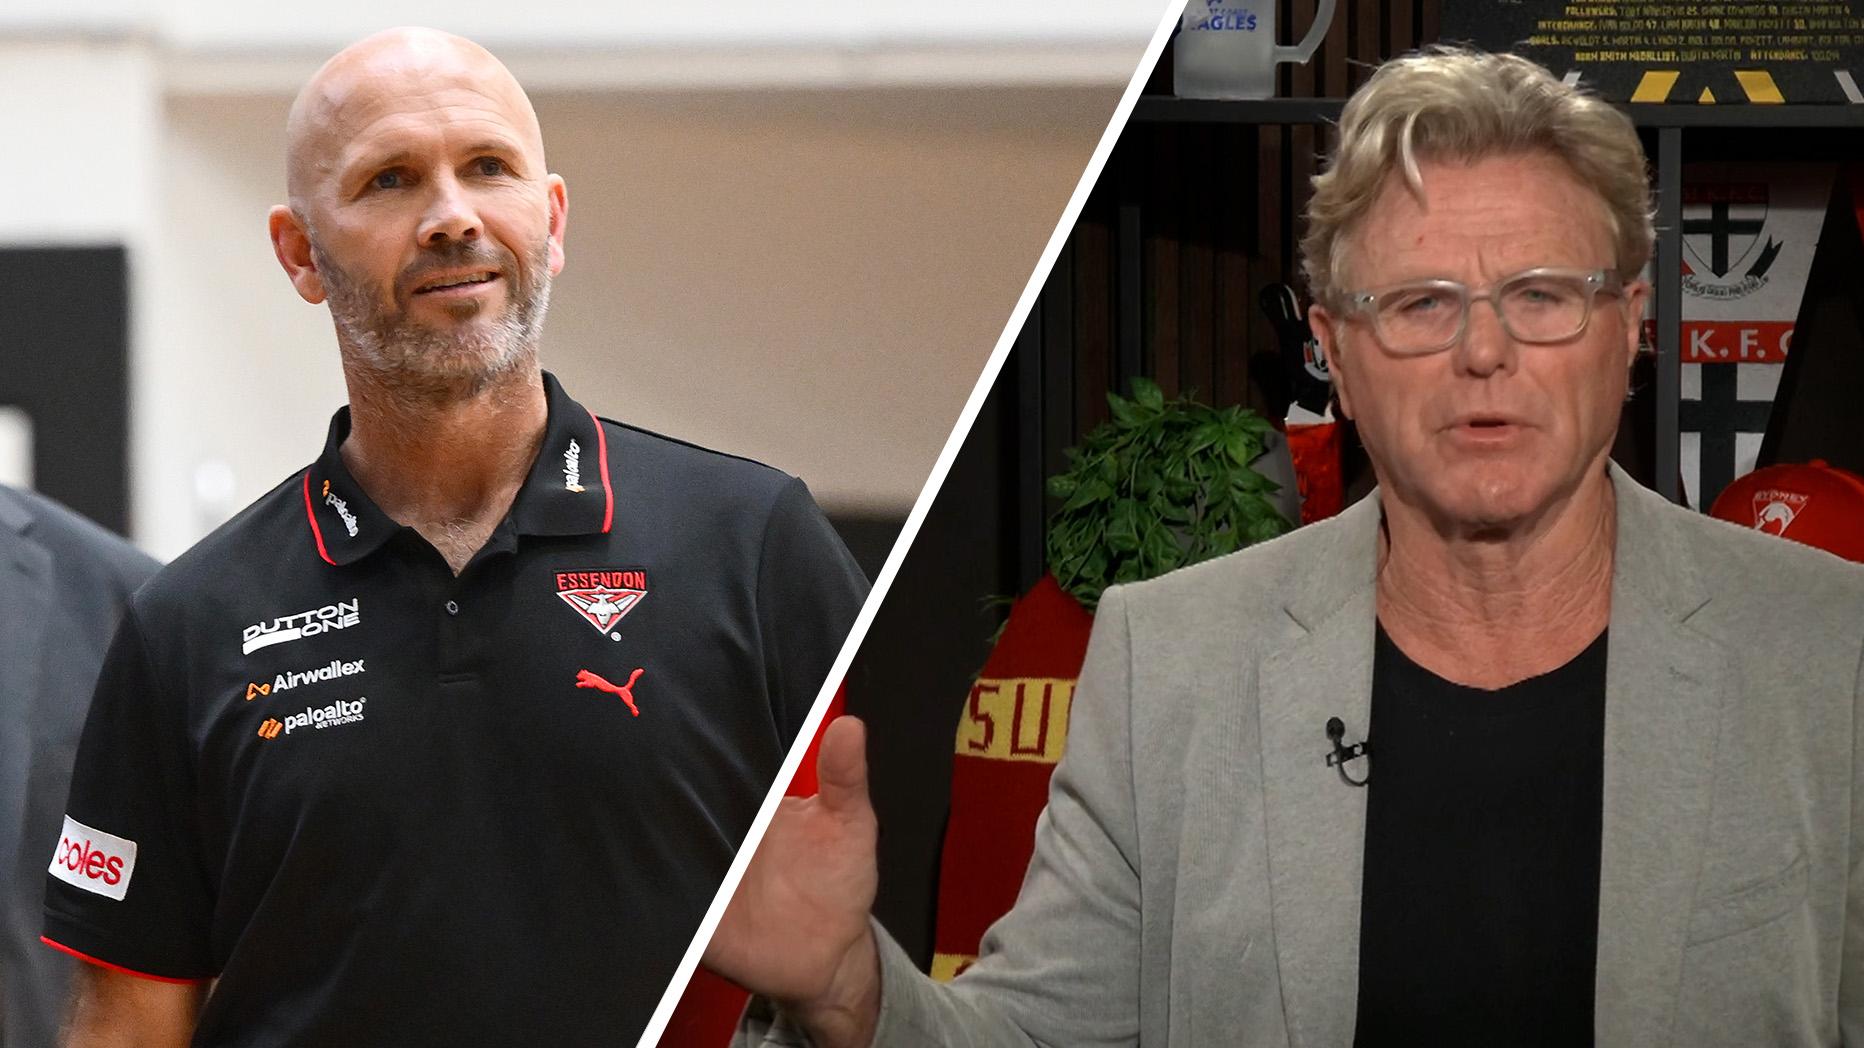
AFL legend Dermott Brereton has said the decision by Essendon president Andrew Welsh to overlook James Hird in favour of Sydney assistant and former Essendon teammate Mark McVeigh was "ego-driven".
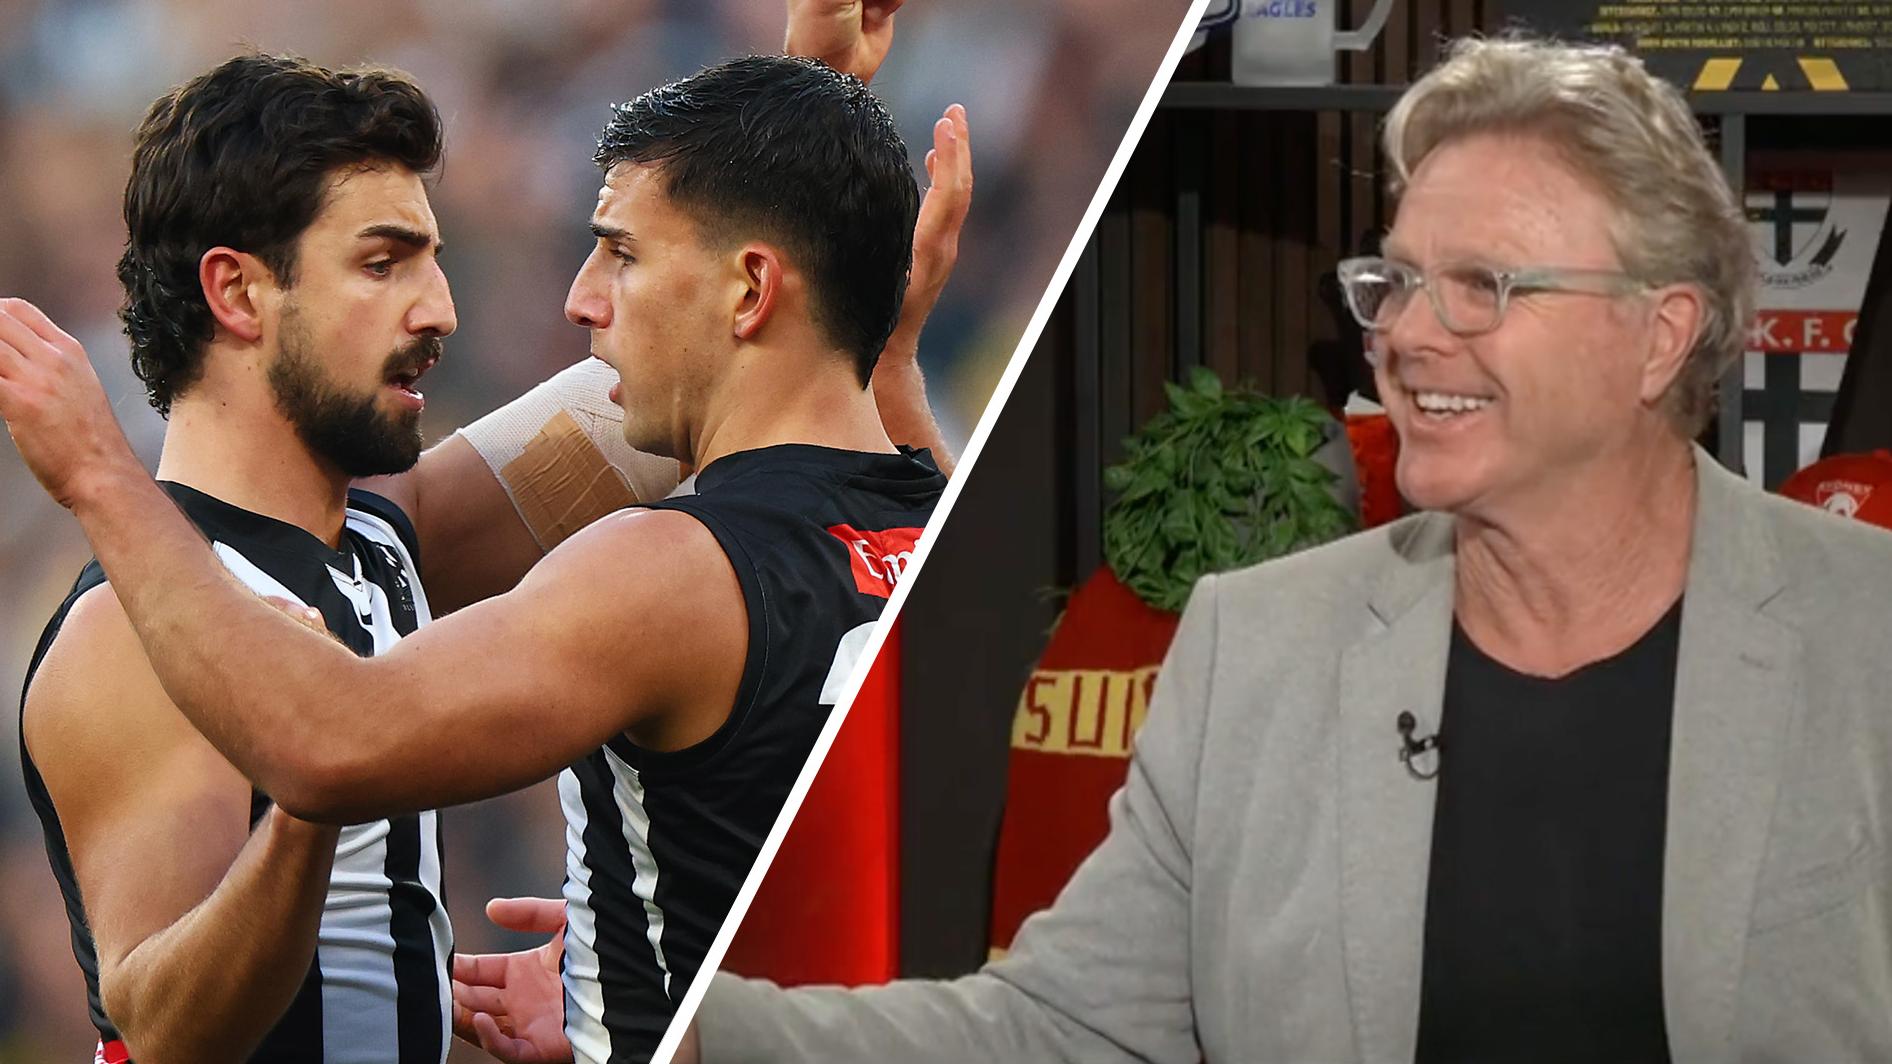
On ESPN Footy Central, Dermott Brereton and James Hird discuss the impact Nick and Josh Daicos, and what the Bulldogs need to do in their wildcard final.
On ESPN Footy Central, Dermott Brereton launches into an impassioned monologue about Essendon's decision to appoint Mark McVeigh as their next senior coach, over co-host James Hird.
Max Gawn now holds the outright record for most All-Australian blazers with nine. But is it a mark that'll stand forever? Let's get to this week's big talking point.
| POS | Team | Pts. | % | Form |
|---|---|---|---|---|
| 1 |
 FRE FRE
|
76 | 137.2 | WWLWL |
| 2 |
 SYD SYD
|
72 | 136.1 | WWWWW |
| 3 |
 BL BL
|
64 | 121.7 | WLWWW |
| 4 |
 HAW HAW
|
64 | 120.1 | WWLDW |
| 5 |
 GEEL GEEL
|
60 | 122.3 | WWWWW |
| 6 |
 ADEL ADEL
|
60 | 117.3 | LWWLW |
| 7 |
 MELB MELB
|
60 | 109.6 | LWWWL |
| 8 |
 WB WB
|
54 | 95.4 | WLLDW |
| 9 |
 COLL COLL
|
52 | 102.4 | WLWDL |
| 10 |
 CARL CARL
|
50 | 101.5 | WWWDW |
| 11 |
 STK STK
|
40 | 102.8 | WLLWL |
| 12 |
 GWS GWS
|
40 | 98.9 | LWLWL |
| 13 |
 SUNS SUNS
|
36 | 94.5 | LLWLW |
| 14 |
 NMFC NMFC
|
36 | 88.8 | LLWLL |
| 15 |
 PORT PORT
|
28 | 88.1 | LLLLW |
| 16 |
 WCE WCE
|
16 | 69.2 | LLLLL |
| 17 |
 RICH RICH
|
12 | 62.5 | LWLLL |
| 18 |
 ESS ESS
|
8 | 64.6 | LLLLL |